Hello everyone!
My name is Kirsty and I’m from Lipstick Addict! Dear Lashes and myself have teamed up to bring you two winter looks that are perfect for cold weather and also feature the Pantone Colour of the Year, Radiant Orchid. You can view my blog here to see Ameas look!
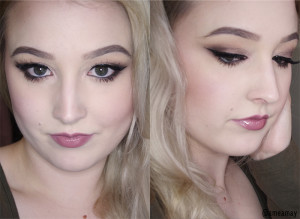
Given that Amea is a pro with eye shadow and I’m lipstick crazy, I’ve centered my look around a bold lip and she has centered her look around a bold eye shadow look! I’ve still created an eye look to wear with my lip, but I’m pretty useless at eye shadow so feel free to use it or not 🙂 Also please excuse my horrendous eyebrows, I’ve been growing them out and they’re being shaped next week!
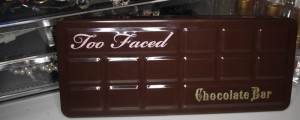
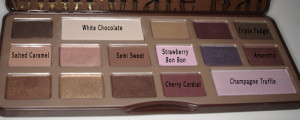
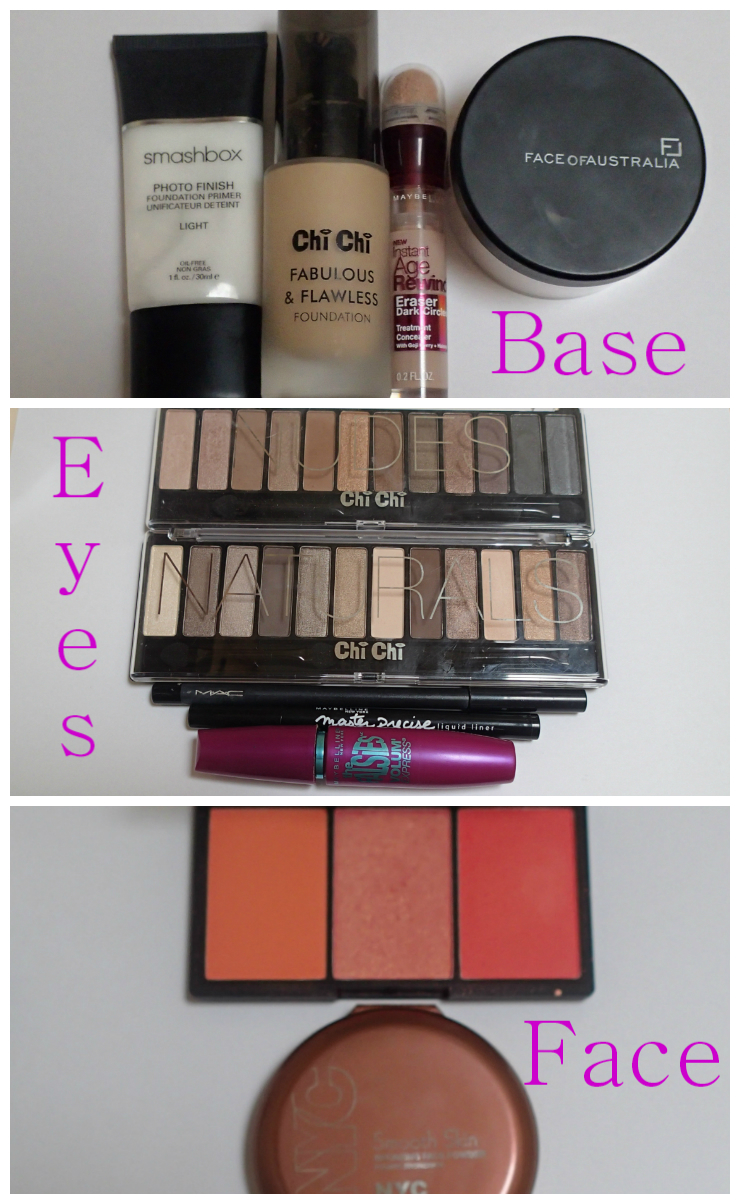
To begin, here are the products I’ll be using for the day. I’ve tried to keep it mainly affordable and accessible for us Aussies!
To begin, I have already cleansed and moisturised my skin. It’s winter here and your skin needs all the moisture it can get, so don’t skip this step! Your skin needs all the love it can get! Now is also the time to put on some lip balm, you’ll thank me later.
Step one is to prime! Not to prime is a crime – and today I’m using the Smashbox Photo Ready Light Primer. This is a great, light and hydrating primer, prefect for everyday use.
Step two is to lay down the base. When I wear a bold lip colour I find it seems to highlight any imperfections that I may have and occasionally wash me out. So when I put on my foundation and concealer, I do a little more coverage than I usually would for day wear. Today I’m using the Chi Chi Fabulous and Flawless foundation and the Maybelline Age Rewind Concealer. I just used my Sigma F80 to stipple on and then blend in my foundation. Buffing is key! I want a fuller coverage face but I don’t want to look like I’ve caked it on.
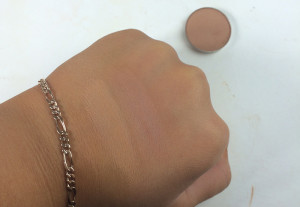
My concealer is doing several jobs today: concealing, subtle highlighting and priming. I use a lighter shade to bring some subtle light to my face and by popping it on my eye lids I’ve primed for my eye shadow too! Finally I set it all with my Face of Australia Translucent Loose powder, to ensure my products are set and won’t budge.
Step Three is to fill in those brows. Use your usual brow products, mine is the Jordana Brow Powder and Essence Lash and Brow gel. My brows are in the process of being grown out before they are shaped so they’re sort of a horrid mess. Please excuse them! Do make sure you use a brow gel of some sort so your brows stay in place all day.
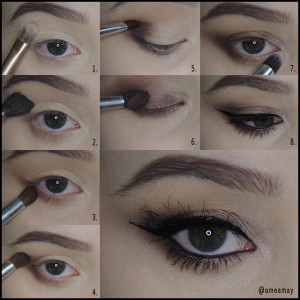
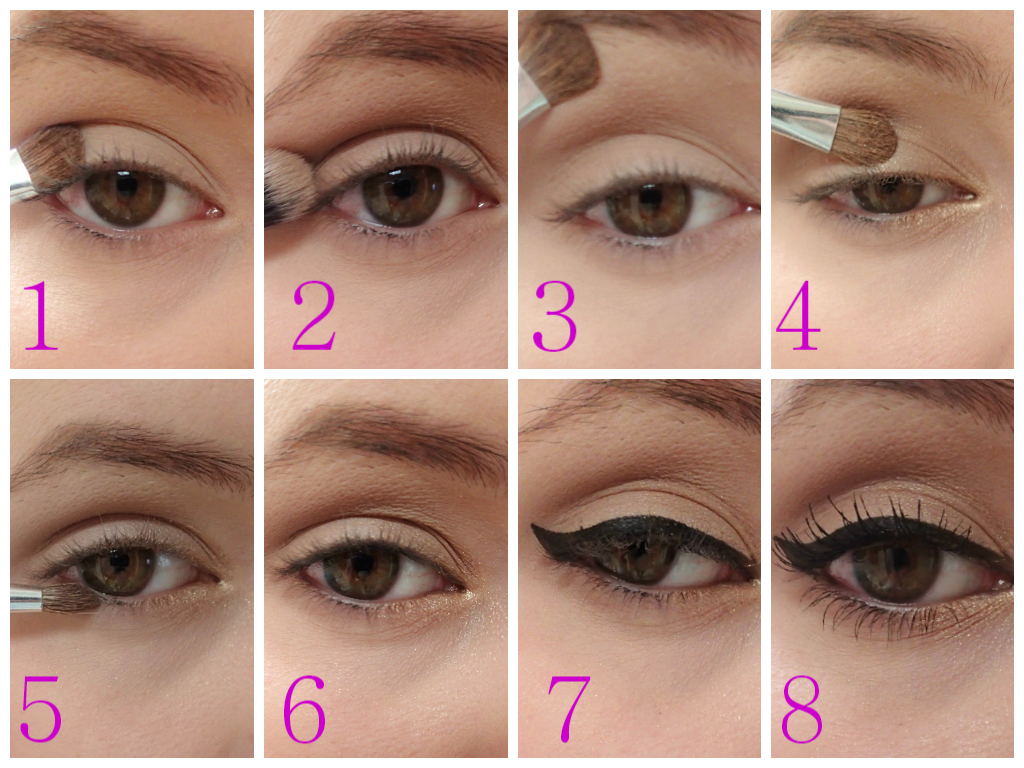
Next up is eye shadow. I apologise that my skills are lacking, I’m not fantastic and I never have been when it comes to eye shadow! All I’m aiming for today is a neutral eye with a bold liner. There are photos and a step by step guide available for you if you choose to use this look, otherwise, any neutral eye will work.
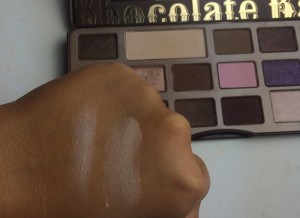
1. I’ve begun with the light, matte cream colour (#7 from the left) from the Naturals palette and packed it all over my lid with a flat shader brush.
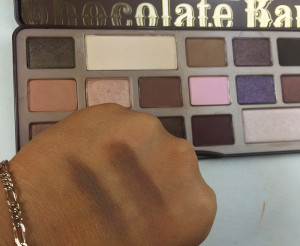
2. Next I’m blending a matte, neutral brown (from the Nudes palette, #3 from the left) into my crease with a fluffy blending brush. Nothing too harsh, just some subtle depth to the look. I’ve also brought this in to my outer third of my eye and outer V.
3. Taking the same matte cream colour, I’ve highlighted under my brow.
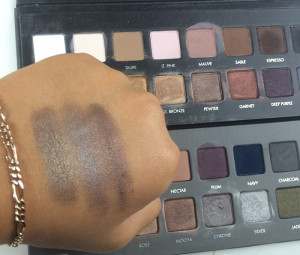
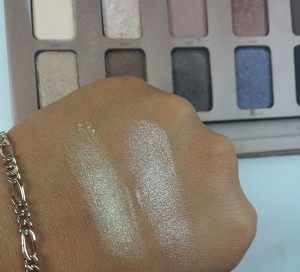
4. This step is optional but I feel it brings a little life to the look, I’ve taken a shimmery gold and popped it in to my inner corner! Gold is a flattering colour for me and helps to highlight my inner corner also. (I mixed colours #6 and #11 from the Neutrals for this step)
5. Taking a pencil brush and the same matte brown, I’ve brought a little down to my bottom lash line and connected it to the gold!
6. Tighline those eyes! I used my MAC Kohl Liner in Feline to do this. I feel like it ties in the eyeliner to my eye and leaves no little gaps.
7. Winged liner is a must for me. I love winged liner with a bold lip for any time of year! I used my Maybelline Master Precise to draw a shorter but bold wing from inner to outer corner. Feel free to skip this step if you aren’t interested in liner!
8. Pack on that mascara! I’m not using lashes today so I’ve put on two coats of my Maybelline Falsies on my top and bottom lashes.
Okay out eyes are done! Next up is face. I’ve got my NYC Sunny bronzer and used it to warm up the sides of my face and also do some very slight contouring. Like I said before, when I wear a bold lip I find it occasionally washes me out, so this will bring some warmth and shape back to my face.
For blush I’ve used one from a Sleek Blush by 3 Palette, the blush is called Guiperre. It’s a peachy pink with gold reflect (much like NARS Orgasm) and will nicely compliment my gold eye shadow.
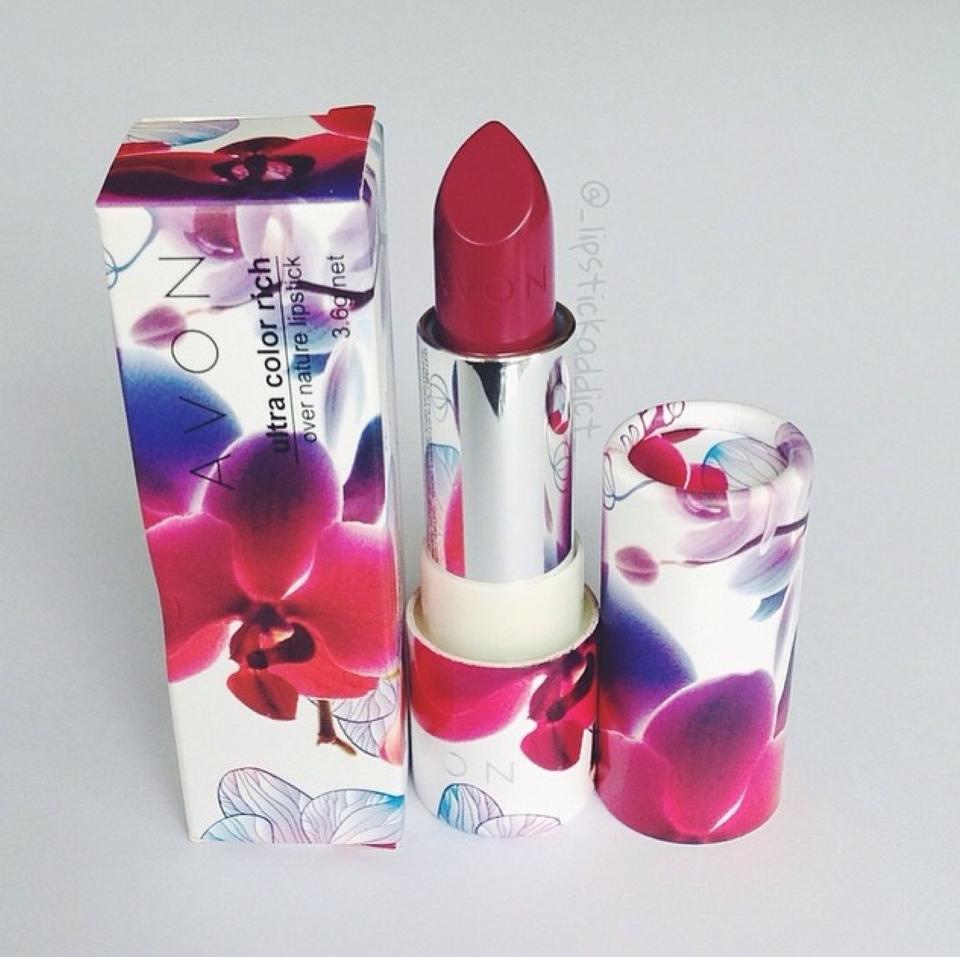
Last but not least is the most important step! The star of the show! The lipstick!
I’ve chosen my Avon Over Nature lipstick in Orchid Fantasy. It’s the perfect purple/fuchsia/magenta/orchid colour and the consistency is fantastic. I haven’t lined or prepped my lips in any way besides lip balm. This lipstick doesn’t feather and stains your lips so it’s not going anywhere.
And there we have it, my final look! I hope you guys liked my look and give it a go this winter. It was really lovely to be able to create this for you guys, so please tag me if you re-create it!
Come and check me out on my instagram and blog! My instagram is @_lipstickaddict_ and you can find my blog at lipstickaddict.com 🙂 Come by to say hi and also to see Ameas’ creation for you all.
Lovely to meet you and I hope you stop to say hi soon! Comment below to tell us what you thought of our looks!
Love, K xo

